In this tutorial, you will create a texture map and apply it to a Dog.ZTL model. The final output of the model is shown in Figure 10-1.
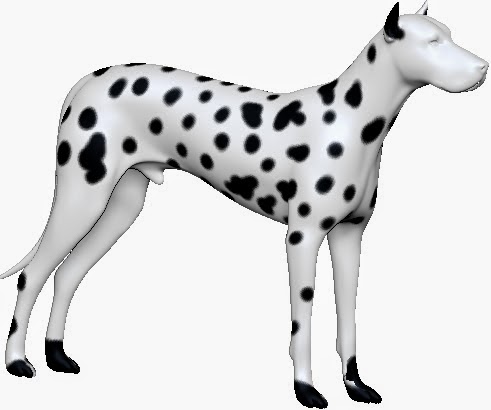 |
| Figure 1 |
The following steps are required to complete this tutorial:
a.
Unwrap the model.
b.
Paint on the flattened image.
c.
Create a texture map and apply it to the model.
d.
Save the model.
Unwrapping the Model
In this section, you will unwrap the model using the default settings of the UV Master subpalette.
1.
Choose the Init ZBrush button from the Preferences palette; ZBrush is initialized to its default state.
2.
Choose the Dog.ZTL file from the Tool tab of the LightBox browser by double-clicking on it. Next, drag the cursor in the canvas area; the Dog.ZTL is displayed in the canvas, refer to Figure 10-2.
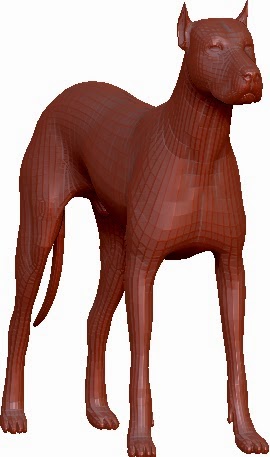 |
| Figure 2 |
3.
Choose the Edit button in the top shelf to switch to the edit mode.
4.
Dock the ZPlugin palette in the right tray. In this palette, expand the UV Master subpalette.In this subpalette, choose the Unwrap button.
5.
Choose the CheckSeams button in the UV Master subpalette; the seams are displayed on the model, refer to Figure 10-3.
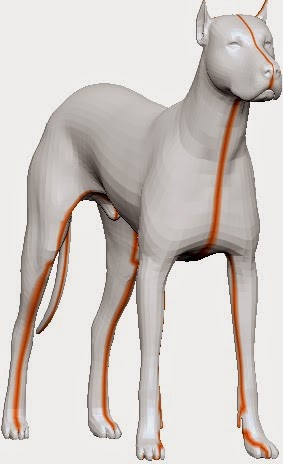 |
| Figure 3 |
6.
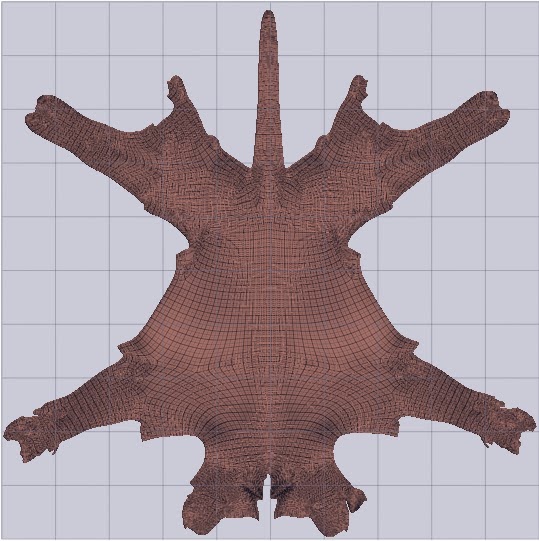
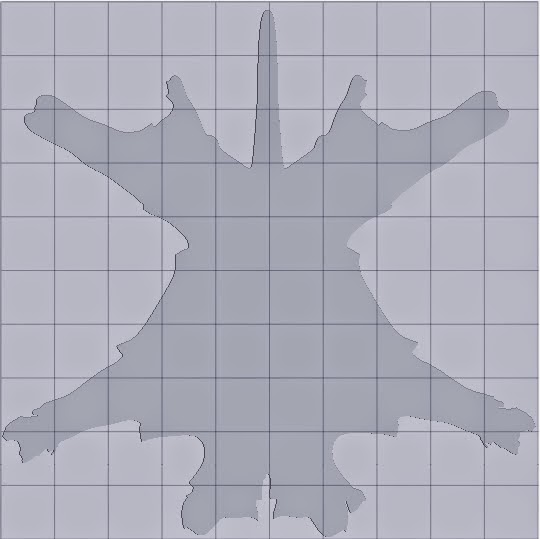
Choose the Flatten button in the UV Master subpalette; the flattened image of the model is displayed, as shown in Figure 10-4. For painting on the image, you need to increase its subdivisions level. To do so, press CTRL+D thrice; the flattened image is displayed, as shown in Figure 10-5.
 |
| Figure 4 |
 |
| Figure 5 |
Painting on the Flattened Image
In this section, you will paint on the surface of the flattened image.
1.
Choose the Current Material button from the left shelf; a flyout is displayed. In this flyout, choose the SkinShade4 material from the Standard Materials area; the material is applied on the flattened image.
2.
To view the material, choose the PolyF button in the right shelf; the flattened image is displayed, as shown in Figure 10-6.
 |
| Figure 6 |
3.
Expand the Color palette. In this palette, choose the FillObject button to fill the image with white color.
4.
Choose the PolyF button again to display the polygon edges on the flattened image.
5.
Make sure the Rgb button is chosen and the Zadd button is not chosen in the top shelf. Choose the black color from the Current Color swatch. Next, paint on the surface of the image to create the patterns, as shown in Figure 10-7.
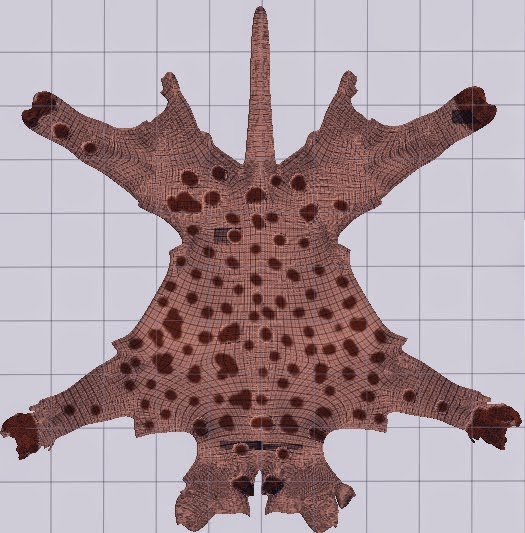 |
| Figure 7 |
Creating a Texture Map and Applying it to the Model
In this section, you will create map from the flattened image and then apply it to the model.
1.
Expand the Texture Map subpalette in the Tool palette. In this subpalette, choose the Create option; it will expand. Next, choose the New From Polypaint button, refer to Figure 10-8; the flattened image is displayed in the Texture Map button, refer to Figure 10-9.
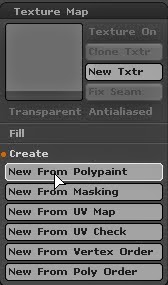 |
| Figure 8 |
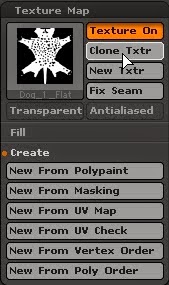 |
| Figure 9 |
2.
In the Texture Map subpalette, choose the Clone Txtr button; the flattened image is cloned and is added to the Texture palette.
3.
In the UV Master subpalette, choose the UnFlatten button; the 3D model of the dog is displayed in the canvas.
4.
In the Texture Map subpalette, choose the Texture Map button; a flyout containing different texture images is displayed. In this flyout, choose the Dog_1_Flat texture image, refer to Figure 10-10; the texture map is applied to the model, refer to Figure 10-11.
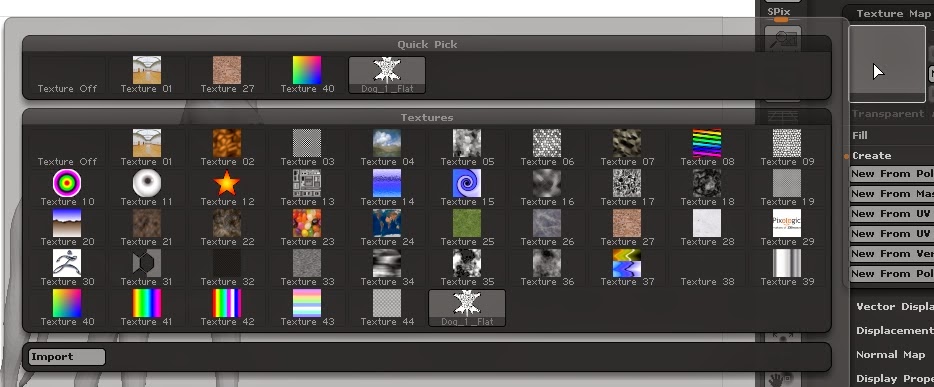 |
| Figure 10 |
|
| Figure 11 |

No comments:
Post a Comment